Team members, roles and sign-in
Invite your team, give everyone a role, and decide how people sign in, with two-factor authentication.
Invite members
In your dashboard, open the menu with your name in the sidebar and choose Members.
Choose Invite members. Under Email addresses, enter everyone you want to invite, separated by commas, and choose a Role.
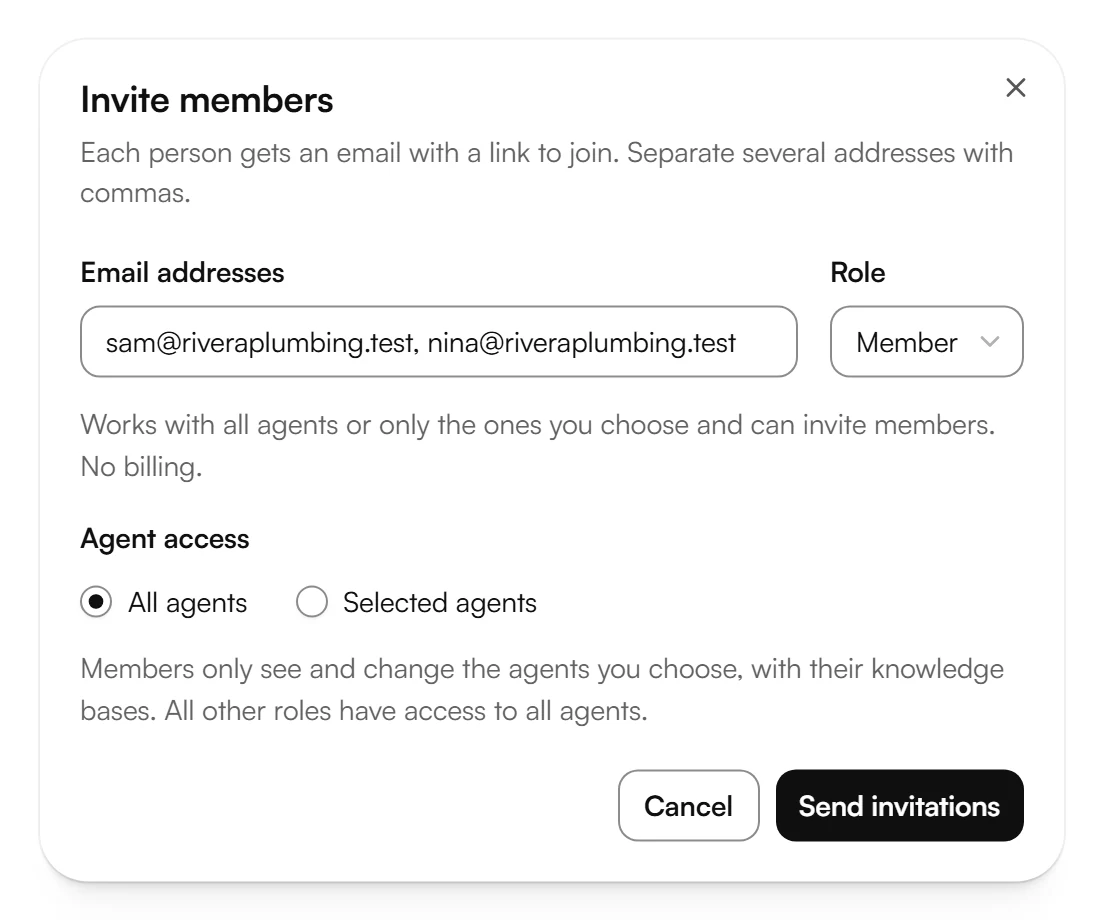
Choose Send invitations. Kesru emails each person a link that adds them to your team. Until they join, they show as Pending.
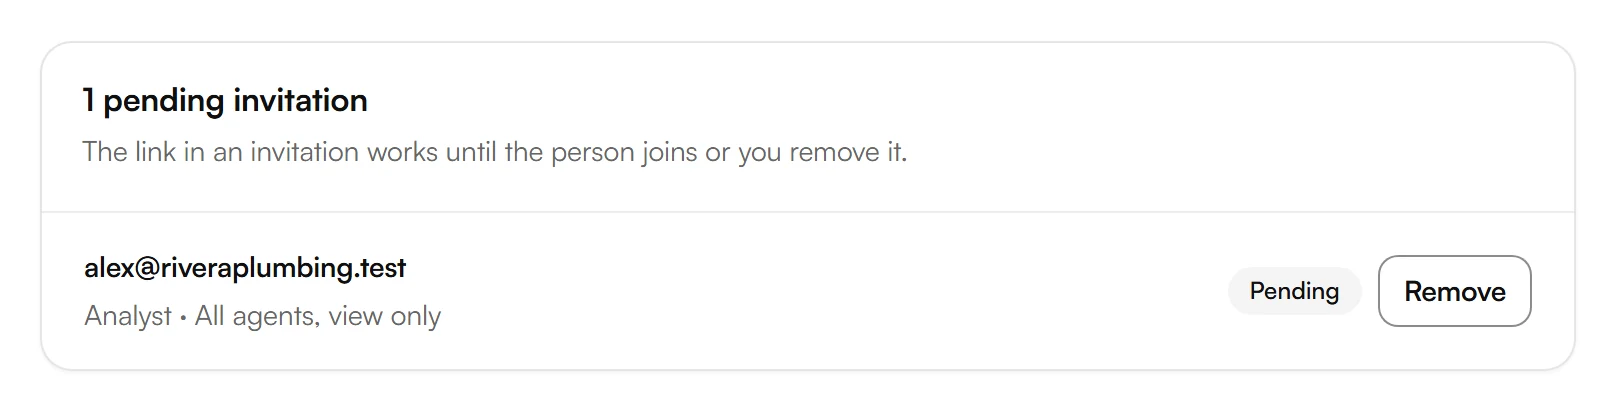
The link in an invitation works until the person joins or you remove the invitation.
Roles
Everyone has one role. To change it, choose a new role next to the person on Members. Role changes take effect right away.
- Owner: Everything, including billing and handing over the workspace.
- Admin: Everything except ownership: members, billing, settings, agents and phone numbers.
- Developer: Builds and tests agents, manages API keys and webhooks and sees all calls. No billing and no members.
- Member: Works with all agents or only the ones you choose and can invite members. No billing.
- Analyst: Sees all agents, calls and analytics and exports calls. Changes nothing.
- Viewer: Sees all agents, calls and analytics. Changes nothing.
Choose which agents a member sees
On Members, choose ⋮ beside someone with the role Member, then Agent access.
Choose All agents, or Selected agents and check the agents they may use. Then choose Save.
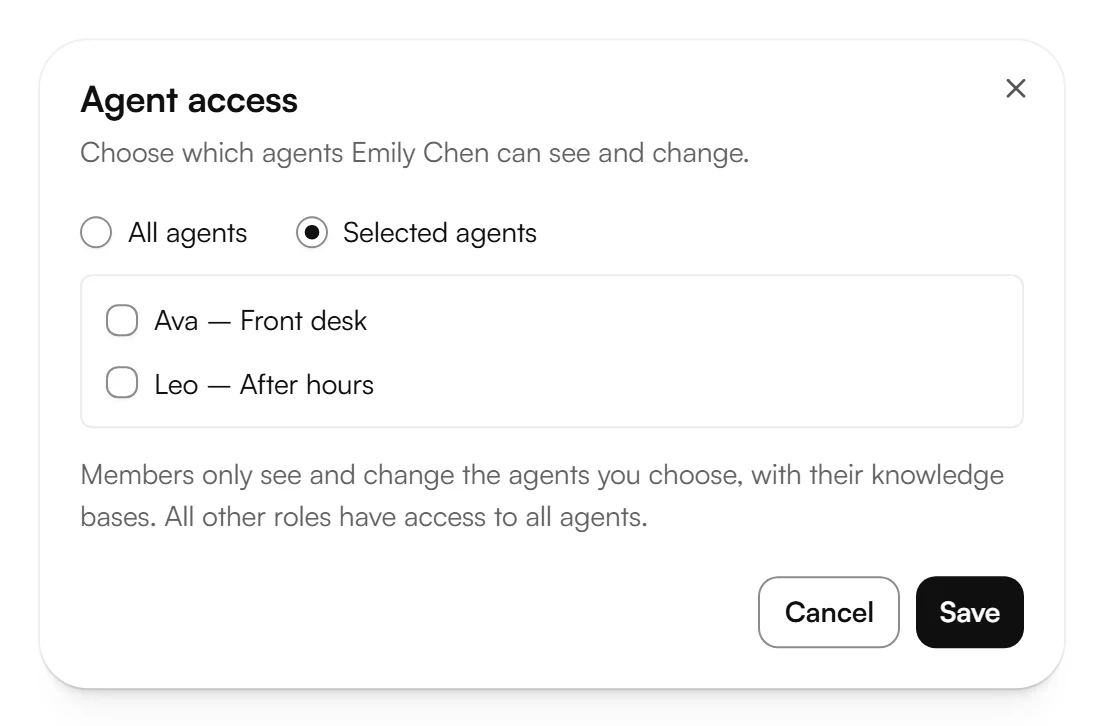
Members see and change only the agents you choose, with their knowledge bases. All other roles have access to all agents.
Remove a member
Choose ⋮ beside the person, then Remove. They lose access right away. Their calls and numbers stay in your workspace. Only owners and admins can remove members or change roles and agent access.
How people sign in
- Email: Kesru sends a 6-digit code to enter.
- Continue with Google or Sign in with Microsoft.
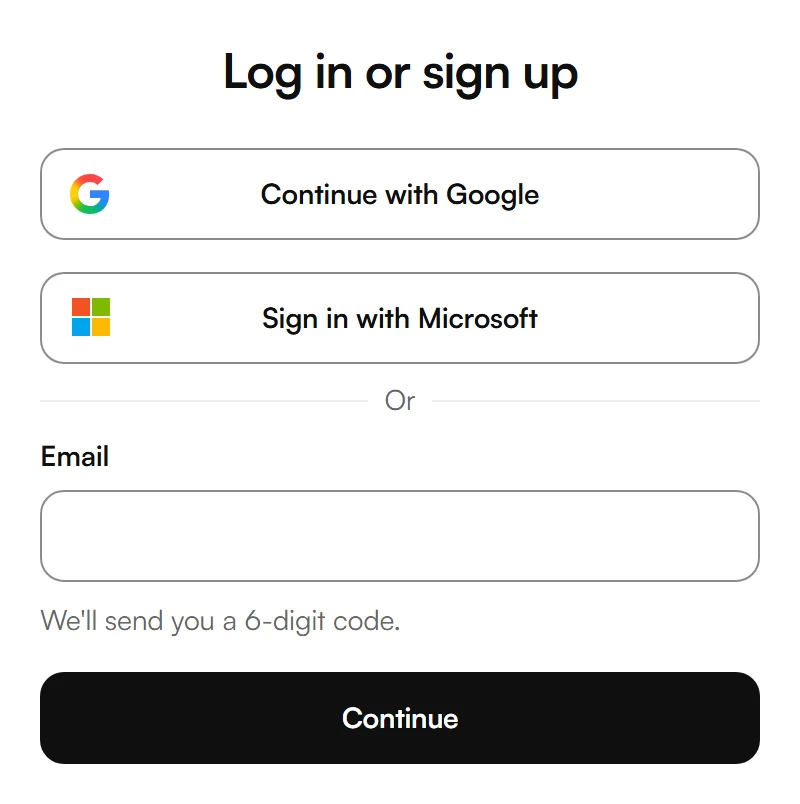
Under Enabled Identity Providers on Security, owners and admins choose which of these methods people in your workspace can use, then choose Update Providers.
Two-factor authentication
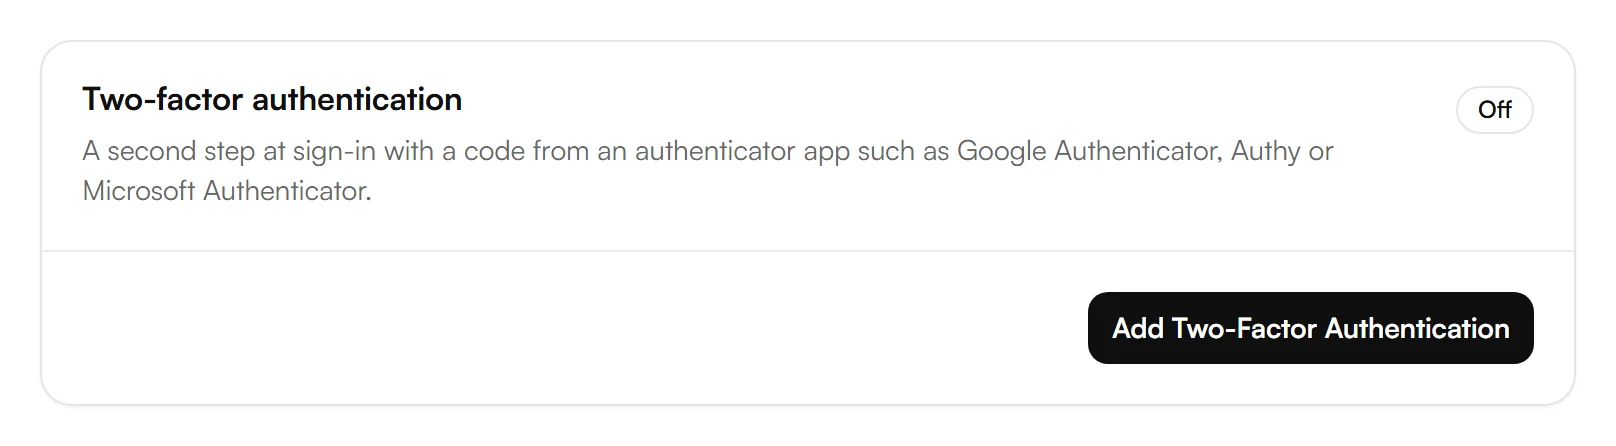
Open the menu with your name and choose Security. Under Two-factor authentication, choose Add Two-Factor Authentication.
Scan the QR code with an authenticator app, or enter the code below it. Enter the Verification Code from the app and choose Verify & Enable.
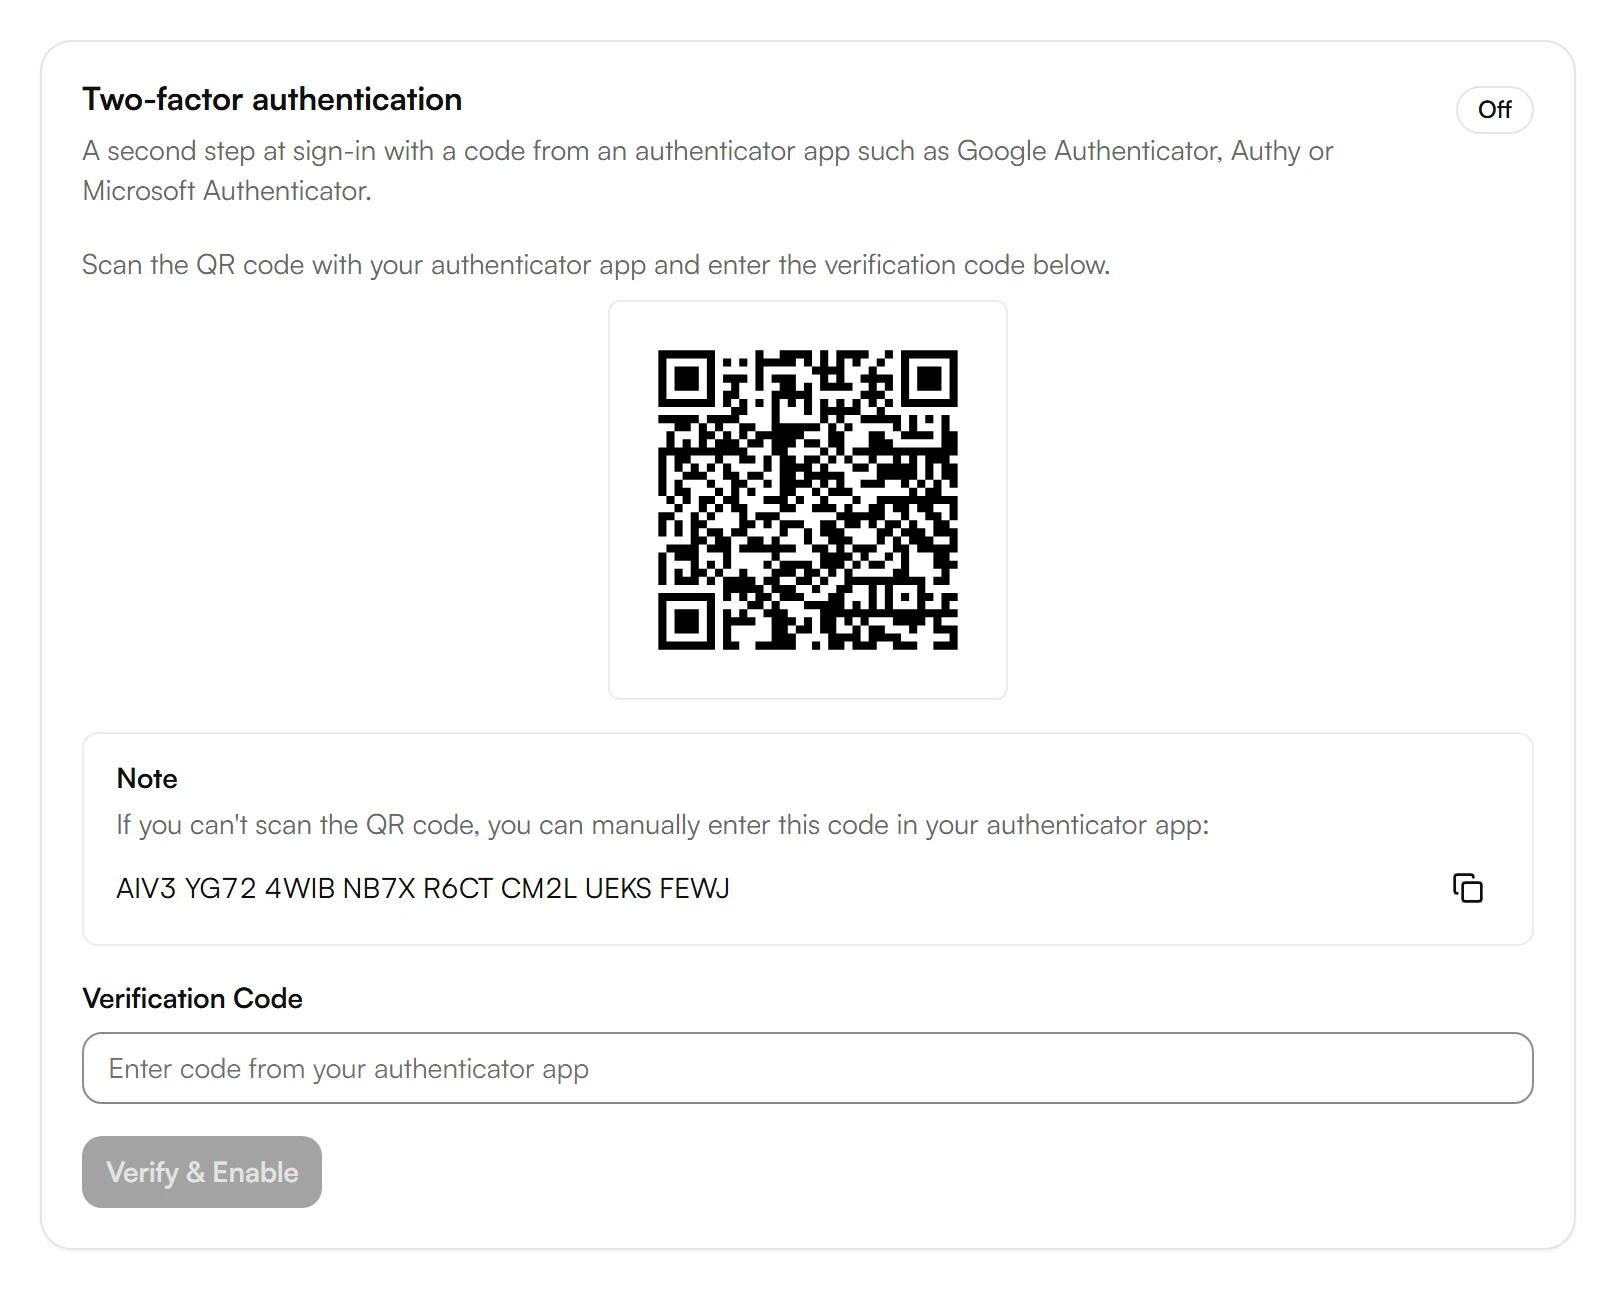
Save your backup code. If you lose access to your authenticator app, you need it to sign in.
Once their own two-factor authentication is on, owners and admins can turn on Require Two-Factor Authentication for the whole workspace. Everyone without it sets it up the next time they sign in.
Allowed email domains
Under Allowed email domains on Security, owners and admins can limit invitations to your company's email domains. Once you add a domain, only matching addresses can be invited. Without domains, invitations can go to any address. People already in your workspace aren't affected.
Audit log
Under Audit log on Security, choose View to see who signed in and what was changed in your workspace.
Related articles
Still have questions?
Write to us at support@kesru.com.