Create your agent
Your agent answers your calls. Start from a template, add your business details and publish.
Checked
Create the agent
In your dashboard, open Agents and choose Create agent.
If Business name shows, enter the name of your business.
Under Templates, choose what your agent should do. Kesru creates the agent and opens it.
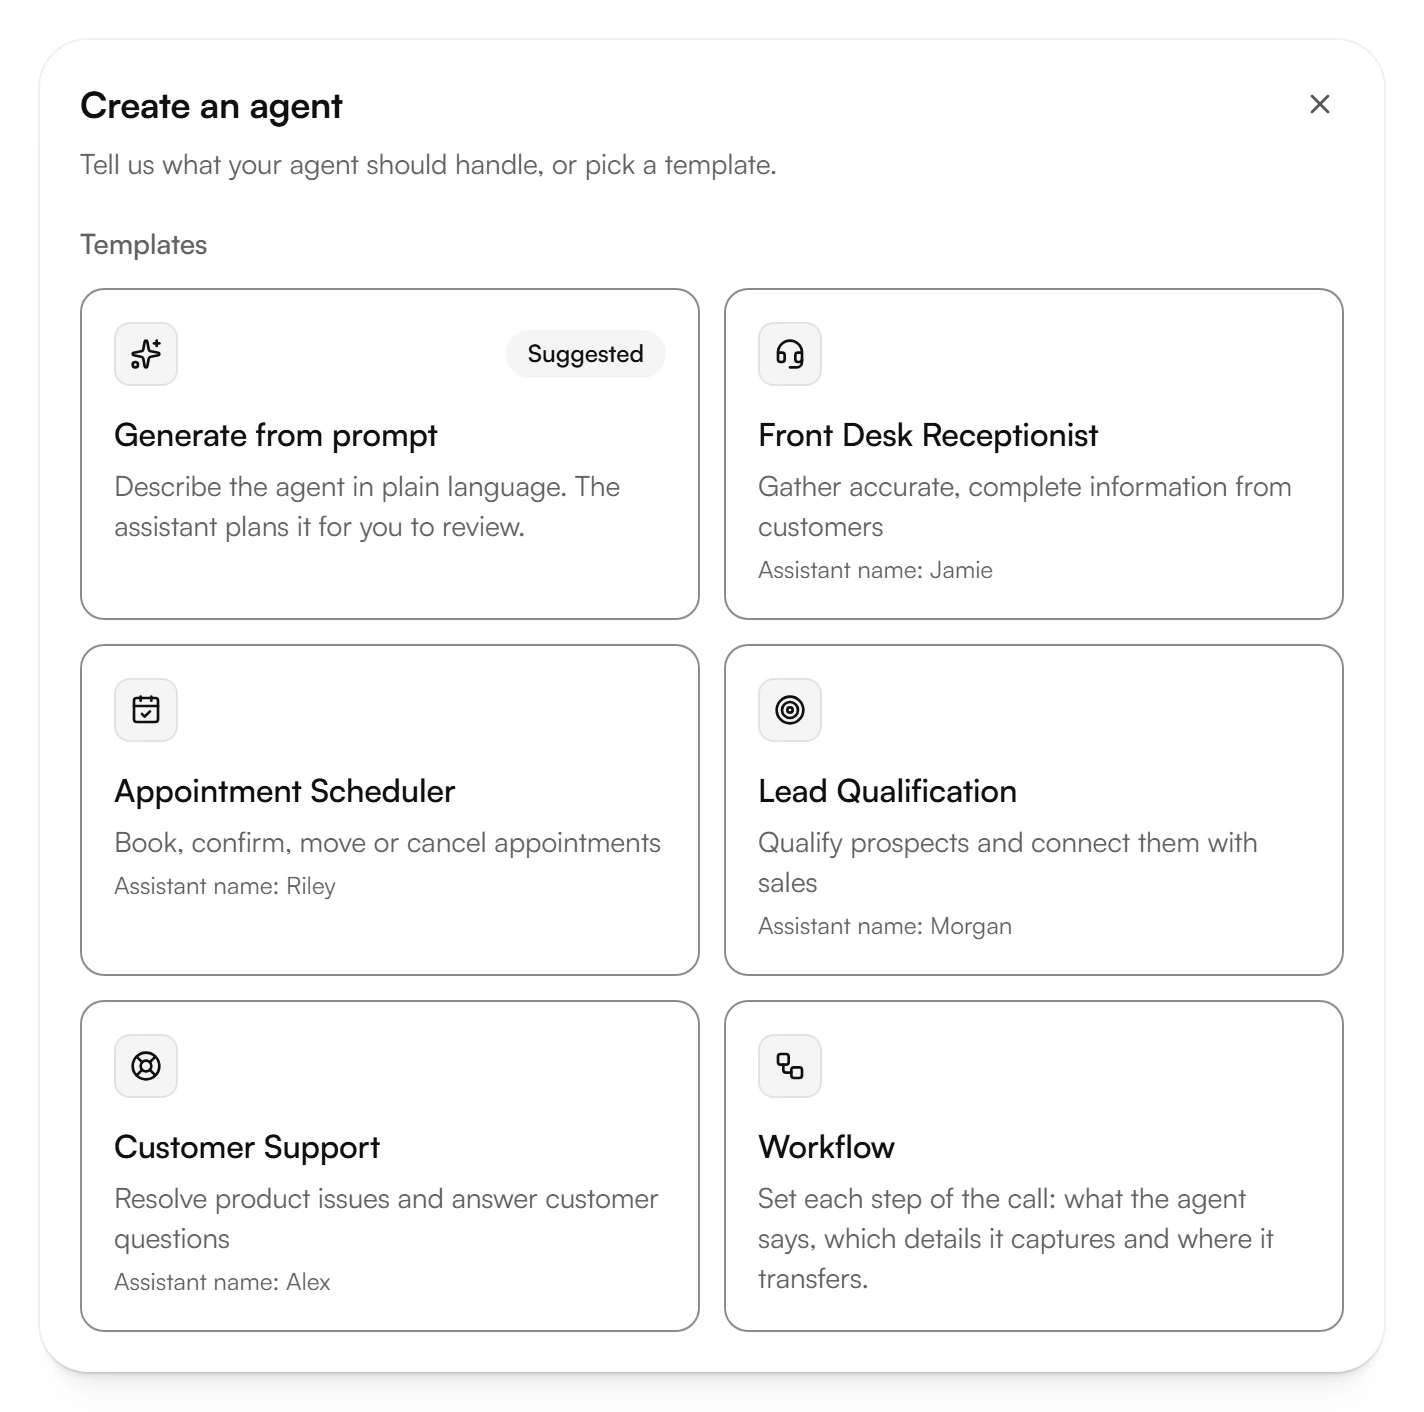
- Generate from prompt: describe the agent in plain language. The assistant plans it for you to review.
- Front Desk Receptionist: takes accurate, complete information from callers.
- Appointment Scheduler: books, confirms, moves or cancels appointments.
- Lead Qualification: qualifies prospects and connects them with sales.
- Customer Support: solves product issues and answers customer questions.
- Workflow: you set each step of the call: what the agent says, which details it captures and where it transfers.
Each template gives your agent a name, such as Jamie. You can change it on your agent's page under How it works → Assistant name.
Add your business details
On your agent's page, open How it works.
Under Business details, check Assistant name and Business name. In Business description, write what you do, who you serve and where.
Under Time zone, choose the time zone of your business. Business hours and appointments use it.
Under Business hours, choose Set business hours and enter when you're open. Days without hours count as closed.
For holidays or vacations, choose Add exception under Exceptions.
Choose Save on each card you changed.
Publish your agent
What you save is a draft. Callers get it once you publish.
Choose Publish at the top of your agent's page.
In Publish changes?, choose Publish. To see what changes first, choose Compare.
Your agent answers calls on a Kesru number. See Get your Kesru number.
Was this helpful?
Related articles
Still have questions?
Write to us at support@kesru.com.